BackUp Your cPanel Resources
When making backups of your cPanel files please note that Sheridan's environment maybe different than another hosting providers' setup. Permissions and software versions can differ and break things that worked before, make sure you know what your hosting provider offers.
Note: This first backup procedure is only appropriate when restoring to another provider that also is running CPanel or supports imports of CPanel backups.
For all other server (LAMP, etc) installations, proceed further down in this guide for the "Wordpress HTML files & MySQL Database backup" procedure.
Backup
Step 1:
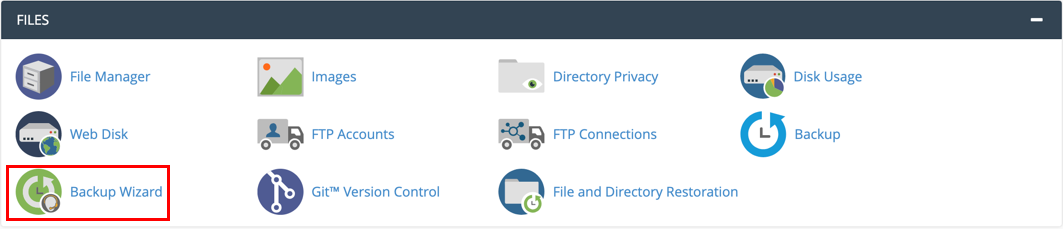
In your cPanel dashboard you will look under the Files section and click on “Backup Wizard”.
You can also use the search bar and type “backup” for the required page.
Step 2:
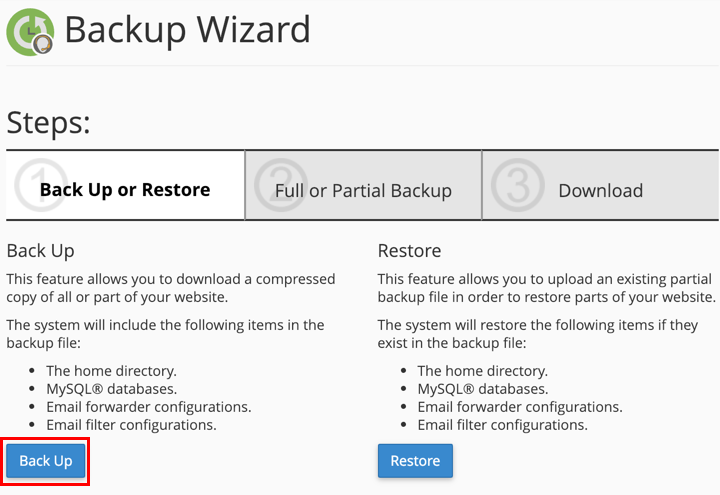
In the backups page click on the “Back Up” button.
Don’t change the file you downloaded, or this will affect the restoring process for a cPanel web server.
Step 3:
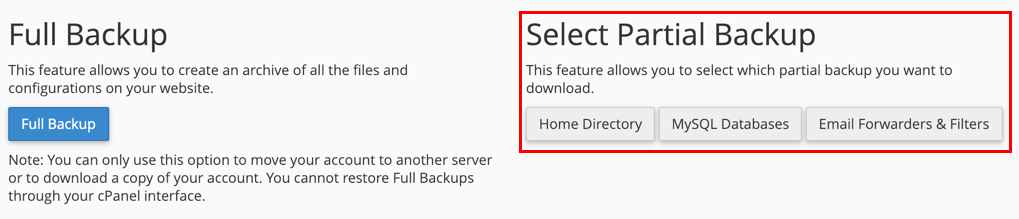
Click on the backup you wish to obtain. This will redirect you to the download page you need. Perform the requirements if any.
cPanel backups for MySQL don't save user database accounts and permissions. Make sure to document your current settings if you need to.
Restoring
Step 1:
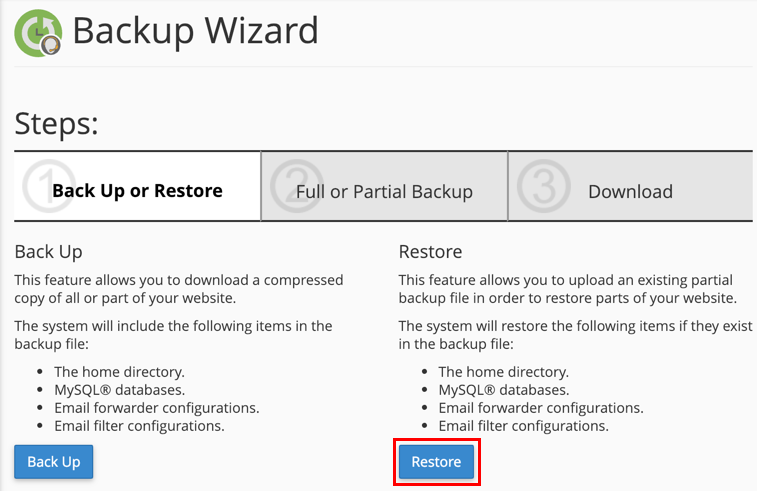
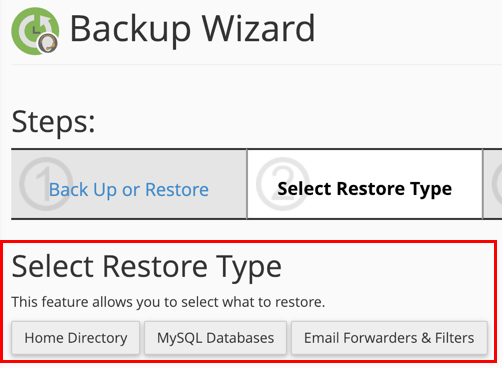
In the backup wizard page on cPanel interface, under click on the “Restore” button.
Step 2:
Click on the desired restore option and you will be redirect to a page asking for the required backup file.
Step 3:
Verify restore with a direct inspection of the restored data.
If you did a Home Directory restore check in under “File Manager” for any changes or added folders.
If you did a MySQL Database restore check under “phpMyAdmin” and “MySQL Database” for changes.
WordPress HTML files
& MySQL Database Backup
This backup will allow restoring to any Linux Apache MySQL PHP (LAMP) server. It consists of backing up the entire Wordpress folder and all enclosed files as well as the MySQL database Wordpress stores data into.
Backup
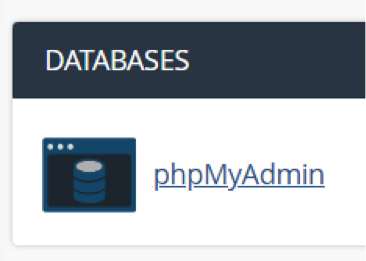
1. Let's begin by opening PHPMyAdmin. Login into your CPanel account and look under the Database section for the link to launch the phpMyAdmin interface.
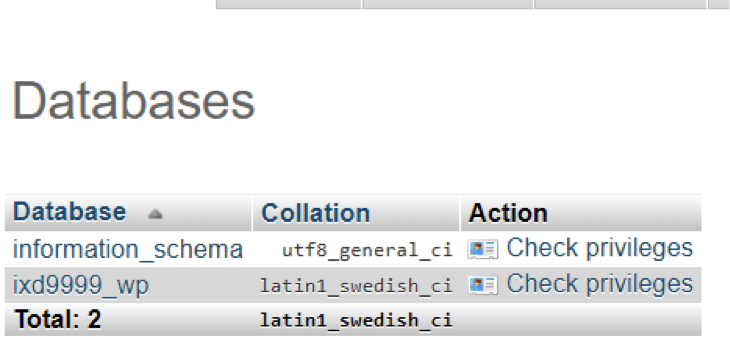
2. In the phpMyAdmin interface find the navigation bar and click on the word “Databases”.

3. WordPress databases on CPanel start with the CPanel username and end with an underscore and the abbreviation "wp" e.g. ixd9999_wp
If you have multiple WordPress databases the database name will have a 1 or 2 at the end of it. Select the WordPress database you wish to backup by clicking on it's name.
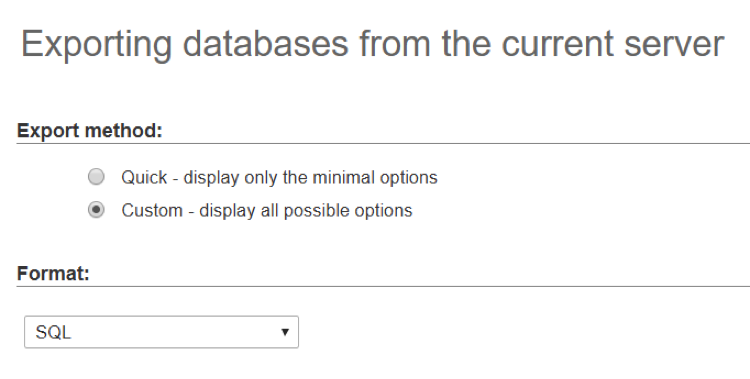
4. In the navigation bar click on the "Export" Tab. The entire database will be exported to a single text file in SQL format. But first we will need to select some options so the file will be easier to import later.

5. Select the Custom export method. And make sure the format is SQL in the drop down.
6. Ensure the output is to a file. Don’t select compression as typically for WordPress the database is not large. Leave the other options at their default values.
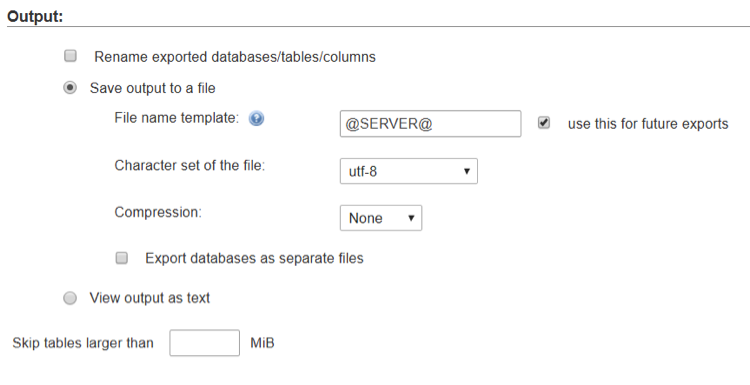
7. Check the “Add Drop Table” and “If Not Exists” options. This allows overwrite of an existing database when importing, and creation of needed tables if the destination does not have them already. Both these options ensure that your restore that you do later will proceed without stopping.

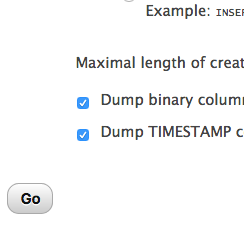
8. Click the "Go" button at the very bottom of the page to the left.
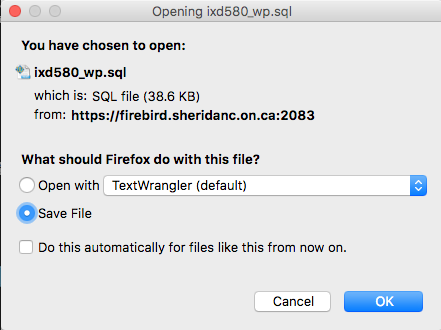
9. Save the .sql file to your desktop. That is your database backup in one file.
10. Use Cyberduck to establish a SFTP connection to your CPanel account. Using SFTP to transfer files is covered in latter section of this post here: http://mactech.sheridanc.on.ca/firebird
Select the entire WordPress folder and transfer it to your local machine. Ensure you get all subdirectories in the transfer in particular the wp_content directory. You may then right click the folder on your local machine and select compress to create a single backup zip file.
Remember the relation of the directory to the public_html directory. There are two cases. If it was a WordPress subdirectory on your account, then it will have to be in the same subdirectory on the server that you are restoring to. In the case that WordPress was not in a subdirectory but located in the root of your public_html folder, then you must put in the same location on the destination server so all the paths in the configuration files matchup.