The Mac Techs @ Sheridan
Mac Software: Bomgar for Support: Full Guide: macOS 10.14
Granting Permission for Bomgar on macOS 10.14 ("Mojave")
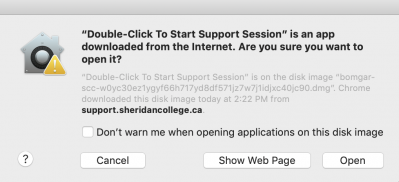
- Once you double click the application within the disk image window, you may see this warning. Please click "Open" to proceed.
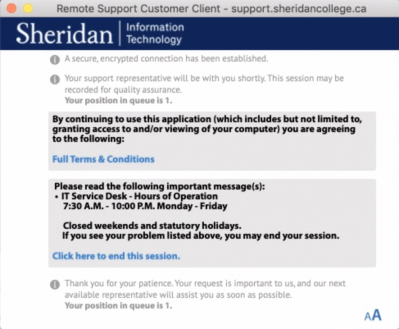
- You will now see the window that is pictured below. Stay tuned for a moment as we connect with you.
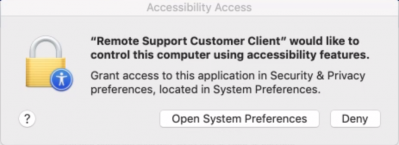
- At this point, we will begin our remote assistance. You should then see this window:
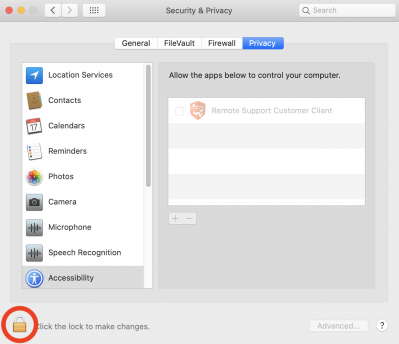
- Click "Open System Preferences" and you will then see that application appear, as shown below. Click the padlock icon at the bottom left as indicated.
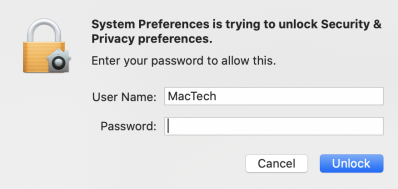
- When prompted, enter your Mac user account password to authenticate as seen below. (note: leave your username as-is)
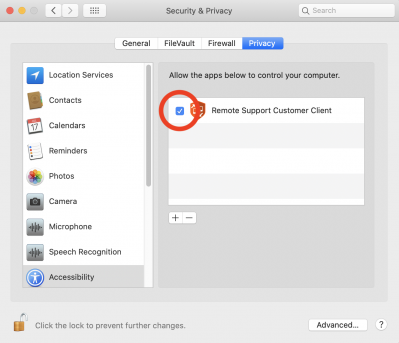
- Now that you've "unlocked" that padlock, please click the checkbox next to "Remote Support Customer Client" so that it is enabled, as indicated below:
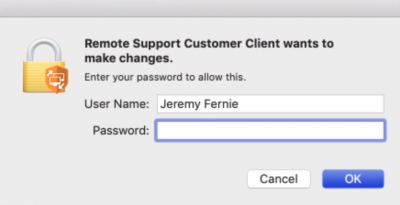
- The final step of configuring Bomgar's required permissions is likely to involve this final dialogue window, as pictured below. If you see this window appear, please enter your Mac user account password and click OK.
If you do not see this window appear during our session, do not be alarmed. This window simply refers to Bomgar's ability that allows us to make administrator-level changes, which is not always a requirement.- That's it! We should now be able to assist your Mac without issue.
- To return to our full guide, click here