The Mac Techs @ Sheridan
RemoteMac: Guide for Mac-based Users
General Information
Are you a FAAD student using a macOS-based computer (aka "Mac")?
If so, this guide will get you connected to a remote Mac at Sheridan!
Step 1: Downloading the Required Installers
To begin, you will need to go to AppsAnywhere, Sheridan's mechanism for delivering specialized software to students. This is where you will download the installer for RemoteMac as well as CiscoAnyConnect VPN software (both items are required).
- Download AnyConnect from AppsAnywhere
- Download RemoteMac from AppsAnywhere

Step 2: Installing the Required Components
- Open "RemoteMacInstaller.dmg" (as downloaded above)
- You will see the following window, with the required installers
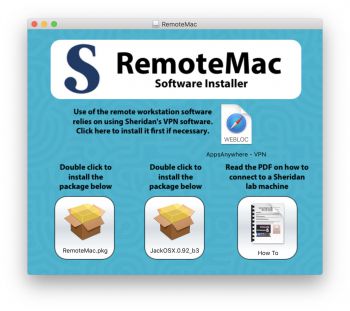
- Open the "RemoteMac.pkg" installer, and follow the prompts to install.
- Once finished, you will notice that the "RemoteMac" application icon has been added to the end of your Dock. Its icon will look like the image below. Please do not click it yet.
- Next, open the "JackOSX.0.92_b3.pkg" installer (from the same download file window as shown in step 3 above). This is needed to enable audio, and the RemoteMac software will not work without installing it. After this install is finished, you must restart your computer.
Step 3: Connecting to the Sheridan VPN
RemoteMac requires the use of the Cisco AnyConnect application to connect to the Sheridan VPN. Please note that no other VPN option will work here.
- Launch this application.
Located in your Applications folder as "Cisco AnyConnect" with this icon:

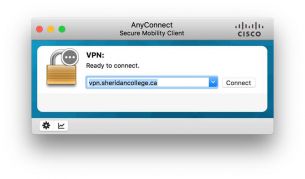
- When it is launched for the first name, it will have a text box to specify a server address.
Please enter this: vpn.sheridancollege.ca
- Use your Sheridan credentials when asked (username and password)
note: this is the same as what you would use for AccessSheridan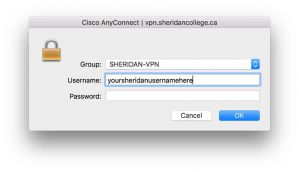
- Once connected, you should see a window similar to below.
At this point, please proceed to the next section below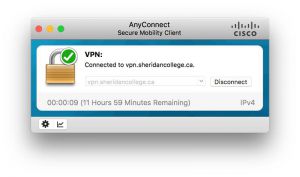
Step 4: Using RemoteMac
- Once you're connected to Sheridan's VPN, you may now click the RemoteMac icon in your macOS dock to launch the software. Alternatively, you can launch the application from your Applications folder. The application icon will look like this, and will be named "RemoteMac"
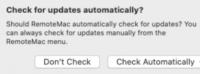
- On first launch of the software, you will be asked if you would like to check for updates automatically. Please click the box that says "Check Automatically". This will allow your computer to automatically receive updates to the RemoteMac application.
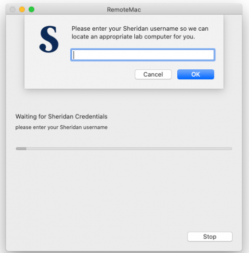
- When the software successfully launches, you will be asked to enter your Sheridan username, and then click "OK".
note: this is the same as what you would use for AccessSheridan
-
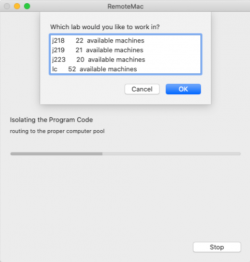
Next, you will be presented with a selection of your program's classrooms. Each classroom has an indication of the number of machines available in them.
Simply select the classroom you would like to work in, and hit the OK button
-
After a few seconds, you will see a classroom computer display. Please note that it may be in screensaver mode, but a simple mouse click inside the window will wake it up. At this point, you will see a login window in front of you.
Please enter your Sheridan username and password as you normally would,
then hit return, and it will log in.

- If you wish to hear the audio from the remote Mac workstation:
Please launch StreamAudio from the Applications folder of that Mac.
The icon looks like this:

- When you are finished using RemoteMac...
Please click the Apple icon () at the top left of its window,
and then choose "Log Out" at the bottom.
Alternatively, if you happen to close the RemoteMac window itself,
you will get the notification as seen below.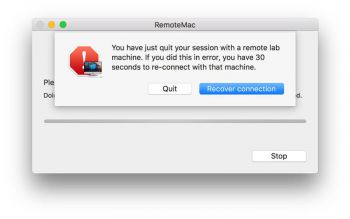
Support
We are happy to help in any part of the process as outlined above.
If you have any issue with any of the requirements or instructions:
Please contact us directly by emailing mactech@sheridancollege.ca.